
Last year I uploaded a 48 minute interview to YouTube with our cover art frozen behind it. Same audio listeners already on Spotify. Around 70 seconds the retention graph was shaped like a ski jump. “Shorts?” Zero I’d never saw one.
I didn’t solve that by buying lights. I solved it by remembering that YouTube is a video product and allowing AI to eat the boring parts: cleanup on the transcript, a talking-head open, B-roll under the dull stretches, vertical cuts, thumbnails that don’t die on a phone.
This is the pipeline I am running now on Topview. Already has audio episode. No re-tape necessary.
What you need to have on your desk before opening Topview
Simple is good. Don’t release if you chase perfect assets first.
- One finished episode in WAV or high-bitrate MP3
- It also helps to check your playback device beforehand — a quick Fix My Speaker check can rule out hardware issues before you start editing.
- A clean headshot for each host (and guests if you have them)
- Cover art or logo
- Intro/outro music you have rights to use
- Brand colors, even if that is just two hex codes in a note
No problem if you don’t have a transcript in hand. Transcription is the first step in the work flow.
The pipeline brief
- Transcribe the episode and clean the names
- Select visual style avatar, b-roll, waveform or combination
- Create the video of the full episode in Topview
- Add topic B-roll where the conversation needs pictures
- Cut Shorts from the best moments
- Make it readable on a phone (thumbnail)
- Upload with chapters and captions.
The rest of this page takes you through each step with full-window screenshots.
Step 1: Open Topview and start in the creation workspace
Log in to Topview. From the creation section at home continue in the video workflow. And this is where you can actually see the podcast episode.
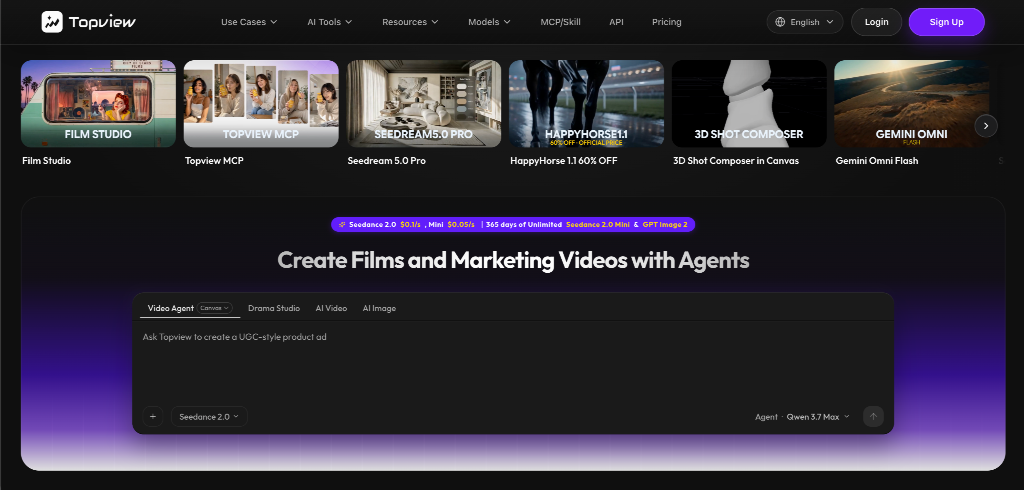
Don’t spend a lot of time on day one thinking about model to use. First get 1 Ep through end to end. And then optimization.
Step 2: Customize your AI avatar (audio and headshots only)
If you didn’t shoot the episode, avatar lip-sync is the practical bridge. Upload host photos, attach audio or script and generate a talking-head layer for the open.
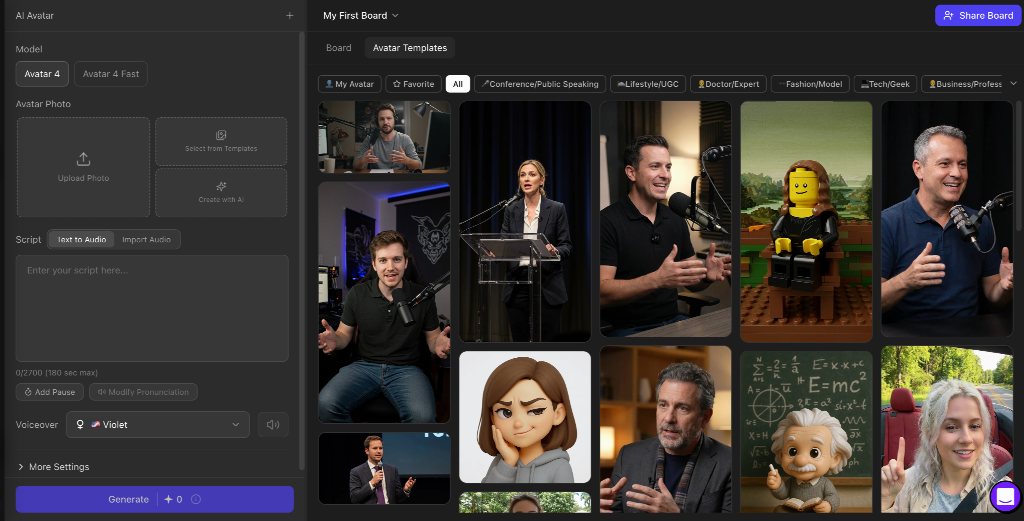
Messy real episode tip: get faces on screen in the first 10 seconds. Youtube does it differently than just putting up a logo. And after the open, you can go to B-roll so you’re not doing the entire hour on one locked medium shot.
Step 3: Generate the main episode visuals in the AI video workspace
Move into the video generator for scene clips, transitions, and any animated segments you want under the conversation.
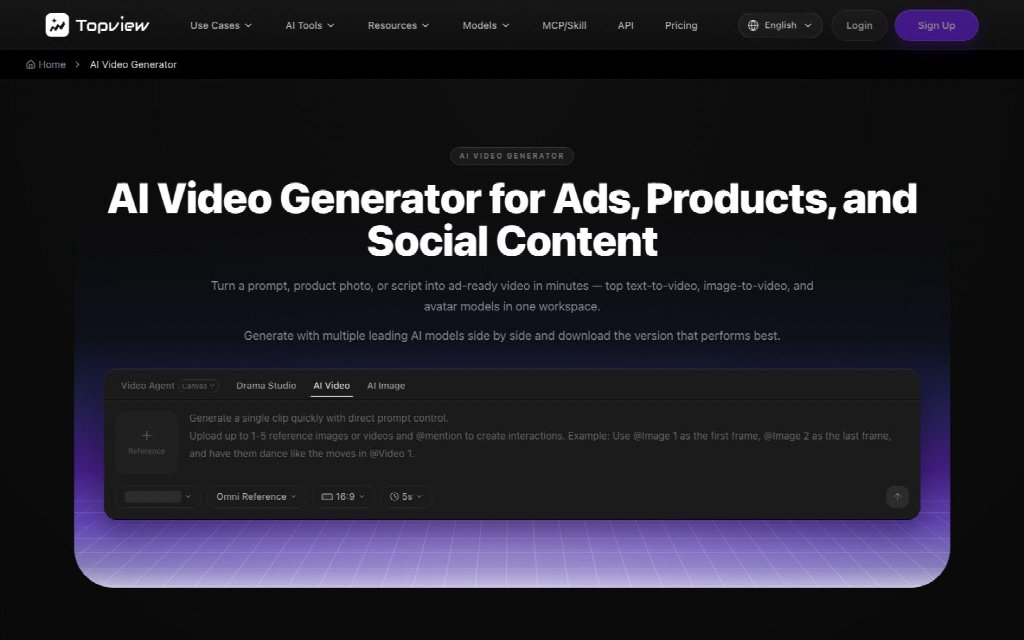
What I usually generate here:
- A short branded open
- Topic visuals for 5 to 8 conversation beats
- A clean end card
You can find the full conversation audio below. It seems like the AI is taking up too much space on the screen instead of rewriting the episode as it should be.
Step 4: Add cinematic opens or stingers with Seedance when you need polish
When I’m working on intro and outro segments, I like to create a brief cinematic clip on its own, and then add it to the timeline. This is where Seedance 2.5 really comes in handy – it lets me make short, branded motion graphics without having to hire a motion designer for each and every episode, which can be a huge time-saver.
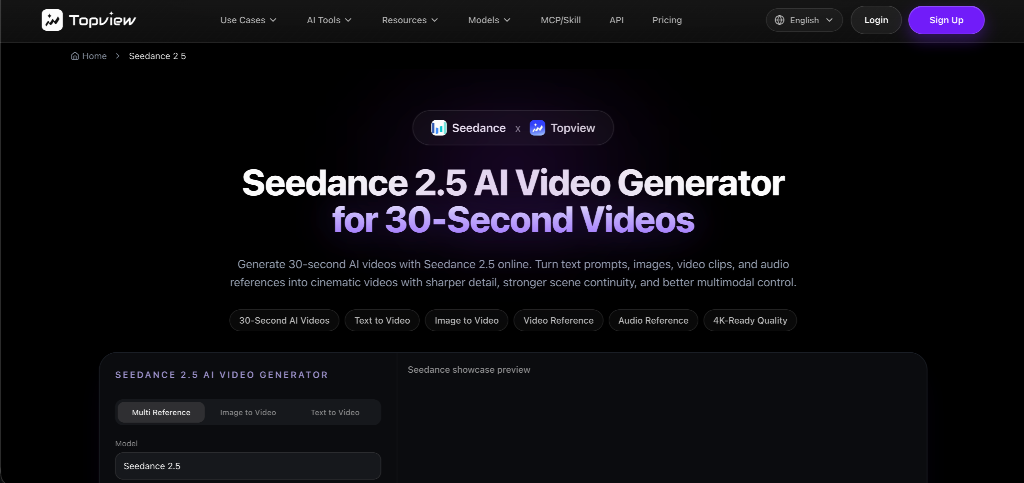
Make your clips brief, around 8 to 15 seconds long. If the intro is longer than the hook, you’ll likely lose your audience. People tend to bounce if they’re not grabbed right away, so keep it short and sweet.
Step 5: Build thumbnails that survive the phone grid
Thumbnails decide whether the episode gets a chance. Two faces, one strong phrase, high contrast. I generate base composites in an image model, then crop hard for mobile.
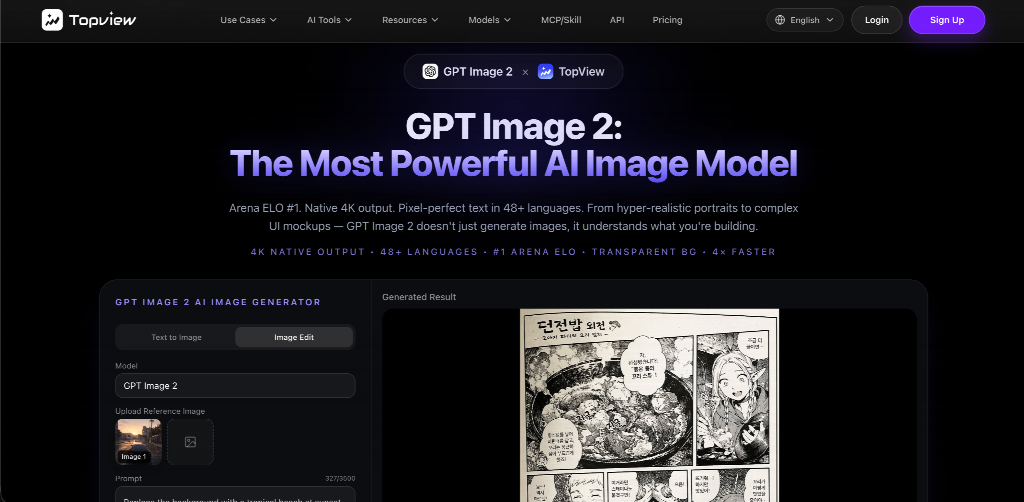
When I’m working on something, I like to try out a few different versions. Then, I choose the one that still looks good even when the browser window is made smaller. I’ve noticed that some of the fancier details can get lost when you’re watching videos on a mobile device, like on the YouTube app.
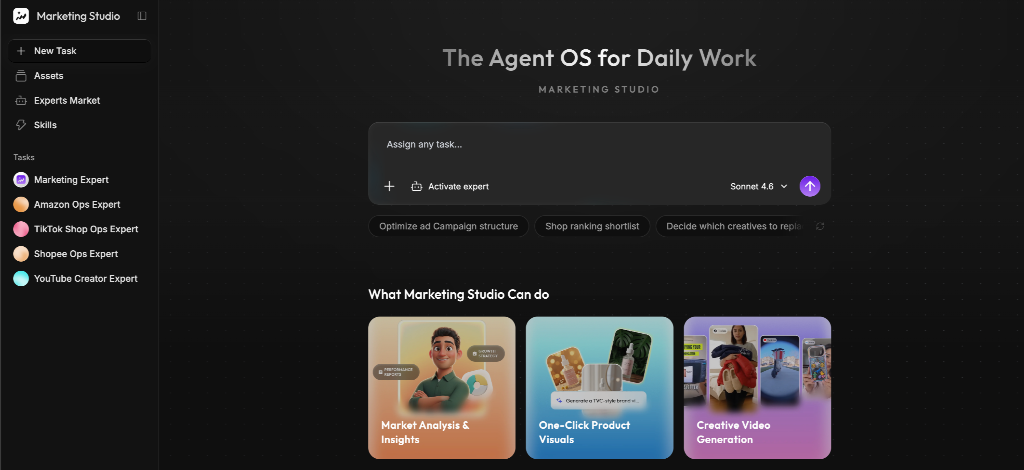
Step 6: Keep episode assets organized on Canvas while you iterate
When you’ve collected all your assets, like avatar takes, B-roll footage, potential shorts, and thumbnail drafts, it’s a good idea to gather everything together in one place. This way, you can keep track of everything and avoid misplacing anything between different folders.
Step 7: Cut Shorts, then upload the long episode properly
Pull five to ten vertical clips from the best moments. One idea per clip. Burned-in captions help. Guest name on screen helps.
Then upload the long episode with:
- Chapters every 5 to 10 minutes
- Captions
- Guest name in the title or early description
- The three strongest timestamps near the top of the description
That last part matters more than people admit. Viewers skim.
A realistic weekly cadence
For one weekly show, this is the rhythm that did not burn me out:
- Monday: render the long episode video
- Tuesday: cut and schedule Shorts
- Wednesday: thumbnail A/B if needed
- Rest of week: reply to comments and note which clips pulled subscribers
Don’t try to reinvent the wheel every time – it’s exhausting. Take the parts that work and use them as a template, so you can focus on the exciting stuff and not get burned out.
What to avoid
- A 60-minute static cover with a fake “video” label
- No Shorts at all
- No chapters
- Thumbnails that are just the logo
- Spending three hours choosing models before shipping episode one
Ship one complete episode. Then improve the template.
FAQ
Do I need to re-record the podcast on camera?
You don’t necessarily need a camera to get started, just having audio and headshots is a good enough beginning, and you can always add a camera later if needed.
How long does one episode take after the template exists?
It normally takes around an hour to an hour and a half of work from someone, and then you have to factor in the time it takes to render in the background.
Will YouTube monetize this?
So, if you’re creating an original show and not just filling it with copyrighted material, using AI to help with production is pretty standard these days. The real issue is when people create fake, spammy content that’s just empty and not a real podcast, but instead has AI-generated visuals. That’s the kind of thing that can be a problem. But if you’re making a genuine show with AI assistance, that’s a different story altogether.
Should every minute use an avatar?
No. Mix faces, B-roll, and quieter visual segments. Variety holds watch time better than one locked framing.
Final note
YouTube rewards shows that look intentional. You do not need a new studio to look intentional. You need a repeatable pipeline.
Let’s get started with Open Topview. Pick an old episode and run it through the process. Don’t worry if it’s not perfect at first – we can always make adjustments later. The key is to get something out there and make it a living, breathing video podcast channel. A finished product, even if it’s not flawless, is better than a perfect plan that never sees the light of day. So, go ahead and publish the result – we can refine it as we go along.