How to Setup Meta Ads Account ?
Ever wondered how some businesses seem to pop up everywhere on Facebook and Instagram? How they manage to show you exactly what you were just thinking about? That’s the magic of Meta Ads, and guess what? It’s not just for the big corporations anymore!
If you’re a small business owner, a budding entrepreneur, or simply someone with a brilliant idea they want the world to see, then understanding how to set up your Meta Ads account is like finding a secret superpower. It’s your ticket to reaching millions of potential customers, right where they spend their time online.
Forget the confusing jargon and complicated steps. This guide is designed to make Meta Ads account creation as smooth as your morning coffee. We’ll break down everything you need to know, from getting started to launching your very first ad, in a way that just makes sense.
Step 1: Building Your Command Center – The Meta Business Manager For Meta Ads:
Think of the Meta Business Manager as your central hub, your mission control, for all things Meta for your business. It’s where all your pages, ad accounts, and other digital assets live securely. If you run multiple businesses, or even if you just want to keep your personal Facebook separate from your business dealings, this is a must-have.
Don’t have one yet? No problem! Here’s how to set up your Meta Business Manager:
- Head to Business.facebook.com: This is Meta’s official portal for businesses.
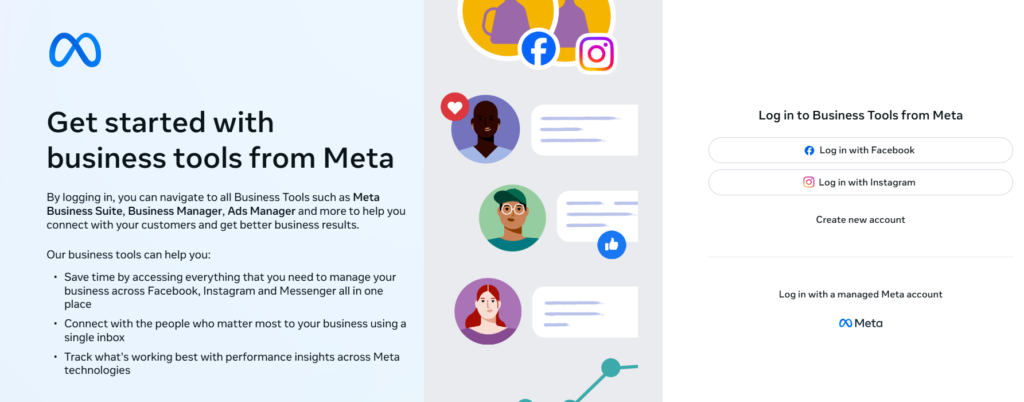
- Click “Create Account”: You’ll use your personal Facebook login, but don’t worry, your personal life stays private.
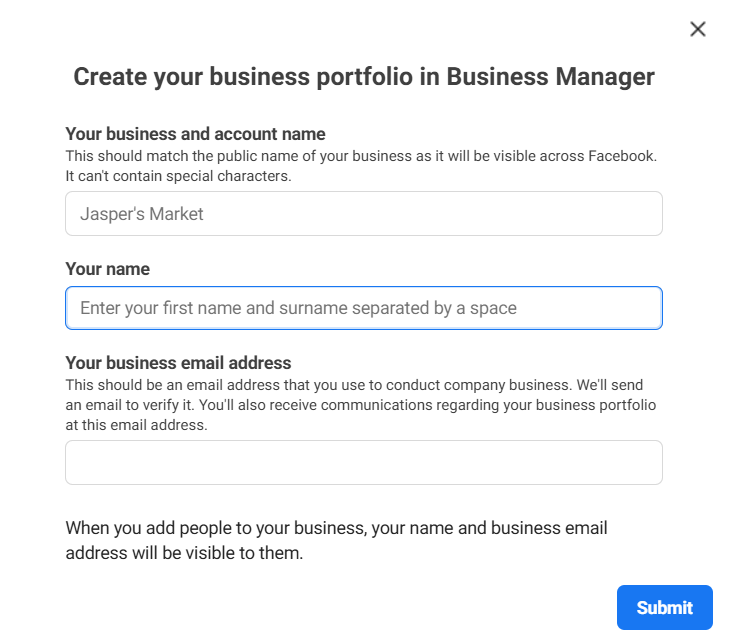
- Fill in the Blanks: Give it your business name, your name, and your business email.
- A Quick Confirmation: Follow any extra steps to confirm your details and email.
Voila! You now have your very own Facebook Business Manager (even though it’s Meta now, many still call it Facebook Business Manager, and that’s okay!). This crucial step makes managing your online presence through the Meta Business Suite much easier and more organized.
Step 2: Your Advertising Engine – Creating Your Meta Ad Account
Now for the exciting part: setting up the actual ad account where your campaigns will live. This is where you tell Meta what you want to advertise, who you want to reach, and how much you want to spend. For those new to this, think of this as your personal billboard space on Facebook and Instagram.
Here’s how to create a Meta Ads account for beginners within your Business Manager:
- Navigate to Business Settings: In your Meta Business Suite dashboard, look for “Business Settings.” It’s usually a gear icon or in a menu of “All Tools.”
- Find “Ad Accounts”: On the left side, under “Accounts,” click on “Ad Accounts.”
- Click “Add,” Then “Create a New Ad Account”: Simple as that!
- Name Your Account: Give your ad account a clear name (e.g., “My Coffee Shop Ads”).
- Choose Your Time Zone and Currency: This is super important! Pick your local time zone for accurate scheduling and your preferred currency for billing. Pro Tip: You can’t change these later, so choose wisely!
- Assign Yourself (and Team): Make sure you give yourself “Admin Access” so you can control everything.
Boom! You’ve just completed the core Meta Ads account setup. This is the engine that will power all your advertising efforts within the Meta Ads Manager.
Step 3: Your Mission Control Panel – Diving into Meta Ads Manager
Once your ad account is ready, the Meta Ads Manager setup is practically done. Just go to your Business Suite, and you’ll find a link to “Ads Manager.” This is where the magic happens!
The Ads Manager is your hub for everything from dreaming up new campaigns to seeing how well your ads are doing. It might look a little overwhelming at first, but with a good Meta Ads Manager tutorial (like this one!), you’ll quickly get the hang of it. You’ll manage campaigns, ad sets, ads, audiences – all from this one powerful dashboard.
Step 4: The Must-Do Steps Before You Launch
Having an ad account is great, but to actually start showing your ads to the world, you need to set up a few more crucial things.
a. Funding Your Ads: The Meta Ads Billing Setup
Your ads need a budget, and Meta needs to know how to charge you. This step is about adding your payment method to Meta Ads.
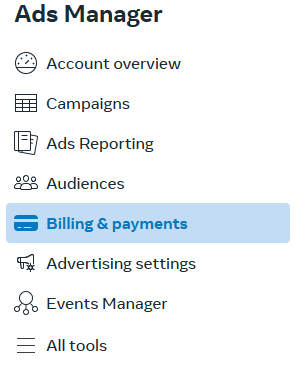
- Go to “Billing” in Ads Manager: It’s usually found under the “All Tools” menu.
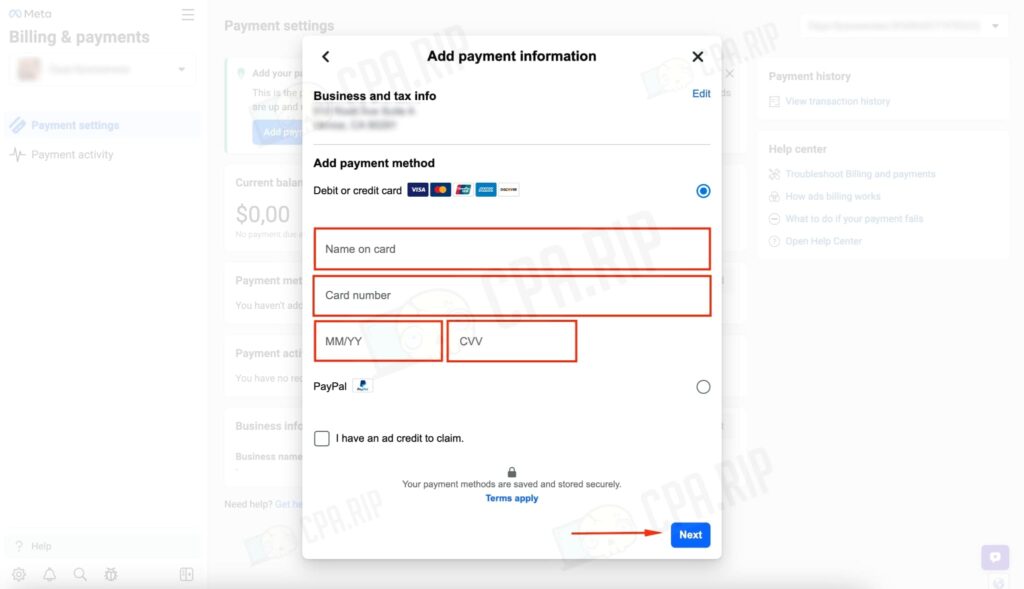
- Click “Payment Settings”: Then, “Add Payment Method.”
- Enter Your Details: Most commonly, you’ll use a credit card, debit card, or sometimes PayPal.
- Consider a Spending Limit: This is smart! Set an optional limit to make sure you don’t accidentally overspend.
b. Your Website’s Secret Spy: The Meta Pixel Setup
This is where things get really clever. The Meta Pixel is a tiny piece of code you add to your website. It helps Meta understand what people do on your site – what they look at, what they add to their cart, what they buy. This allows you to:
- Show ads to people who visited your site (but didn’t buy).
- Find new customers who look similar to your existing ones.
- Measure exactly how well your ads are converting.
Meta pixel setup is a game-changer!
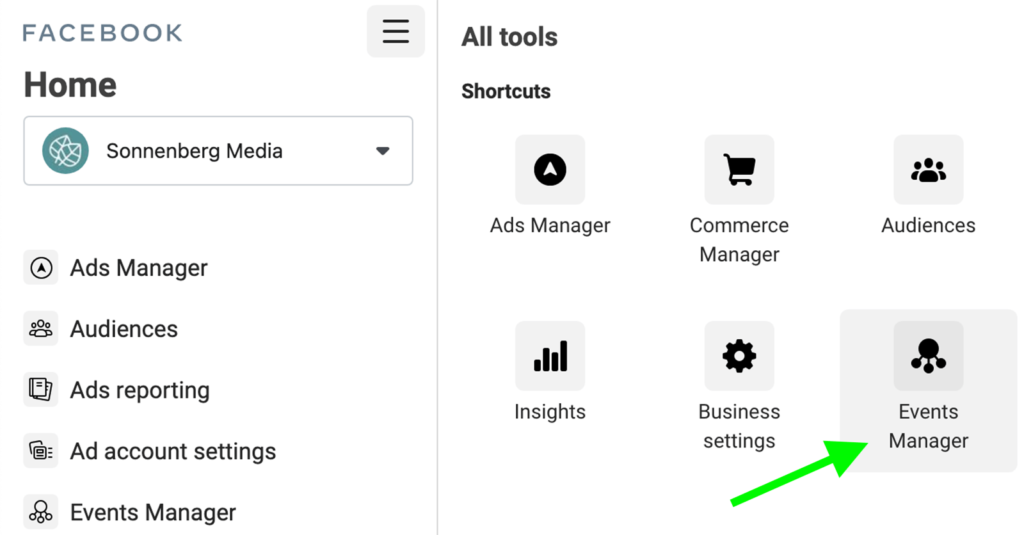
- Go to “Events Manager”: Find this within your Business Settings or Ads Manager.
- Follow the Prompts to Create a New Pixel: It’s surprisingly user-friendly.
- Install the Code: You can usually copy and paste the code into your website’s header, or use easy integrations if you have a platform like Shopify or WordPress.
- Test It Out: Use the “Meta Pixel Helper” browser extension (a free tool!) to make sure your pixel is working correctly.
If You are Running Paid Ads For Local Business, then read this: https://zavify.co.uk/blog/running-paid-ads-for-local-businesses/
OR If you Want Marketing Services Contact On Whatsapp: +923036364654
c. Linking Your Business Page: How to Link a Facebook Page with Your Meta Ads Account
Your ads need to come from somewhere. That “somewhere” is your Facebook Page (which often connects to your Instagram profile too). This link is usually established during the initial Business Manager setup, or when you create your first ad.
- In Business Settings, go to “Pages”: Under “Accounts,” select “Pages.”
- Add Your Page: If it’s a page you already manage, add it. If you need a new one, you can create it here.
- Assign Access: Make sure you (and anyone else who needs it) have the right roles for the page.
Step 5: Launching Your First Ad – Your Moment to Shine!
With all the groundwork done, you’re now ready for Meta Ads campaign setup! For how to run ads on Meta for beginners, start simple and learn as you go.
- Click “Create” in Ads Manager: Meta will guide you through choosing an objective (e.g., getting more website visits, increasing sales, getting more messages).
- Who Do You Want to Reach? Define your audience – age, location, interests, even behaviors.
- Set Your Budget and Schedule: How much do you want to spend and for how long?
- Design Your Ad: This is your creative moment! Write compelling text, and choose eye-catching images or videos.
- Hit “Publish”: Take a deep breath, review everything, and launch your campaign!
Keeping an Eye on Things: Your Meta Ads Dashboard
Once your ads are live, your Meta Ads dashboard becomes your new best friend. This is where you track everything – how many people saw your ad, how many clicked, how many bought something. It’s vital to check this regularly to see what’s working and what could be improved.
Staying Ahead: Meta Ads Account Setup 2026 and Beyond
The online world moves fast! While this guide covers the core Meta Ads account setup 2026 process, Meta constantly updates its features. To stay on top:
- Follow Meta Business: They offer great resources and updates.
- Don’t Be Afraid to Experiment: New features can mean new opportunities.
- Keep Up with Policies: Always make sure your ads follow Meta’s rules.
A Few Quick Tips if You Hit a Snag:
- Ad Not Approved? Check Meta’s ad policies. They’re strict for a reason!
- Payment Issues? Double-check your card details and contact your bank.
- Pixel Not Working? Use the Meta Pixel Helper extension to troubleshoot.
- “Meta Ads account setup without business”: While possible, using the Meta Business Manager is always the smarter, more professional way to go. It gives you more control and features.
Ready, Set, Advertise!
You’ve done it! From setting up your Meta Business Manager to understanding the essentials of your ad account, you’re now equipped to start advertising effectively on Meta’s powerful platforms. This journey might seem daunting at first, but with each step, you’re building a new “business superpower.”